
SSL Client Certificates
USAePay uses SSL Client Certificates to digitally verify the identity of a merchant's computer. The certificate is used in conjunction with the merchant's username and password to authorize access to the merchant console. Each user wishing to access sensitive data (such as card numbers) must be issued a certificate. Certificates are unique to each user and may not be shared between multiple users. Please note this is NOT a server certificate provided from your host in order for your website to talk securely with other sites. This is an optional CLIENT certificate for your browser.
In certain situations, USAePay provides a paid service of exporting the full card numbers from either the sandbox test environment or the customer database. You can get more information about it by emailing export@usaepay.com
Note: This feature is only available on the Legacy Console.
Requesting a SSL Certificate
SSL Certificates can only be used on active merchant accounts and requests must be made in writing. Before making the request, please read the documentation for Quick Sale and Quick Credit. These features allow you to process sales and refunds on cards you have processed previously without retyping the full card number, and most merchants discover they do not need access to the full card number after learning about this functionality.
If you find you do still need the SSL Certificate, download the SSL Certificate Request Form and fax to the number listed on the form. SSL certificates last for 2 years.
Installation Instructions
Once an SSL certificate has been issued you will receive an email containing the link to download the certificate. To access the link you must log in with the username the certificate was issued to (the user you put on the application). Once logged in, you will be presented with a download link. Download the certificate to your desktop. Next, determine the web browser you are using and follow the instructions below based on that browser.
INTERNET EXPLORER (IE) IS NOT WORKING WITH THE SSL CERTIFICATES AT THIS TIME
Chrome
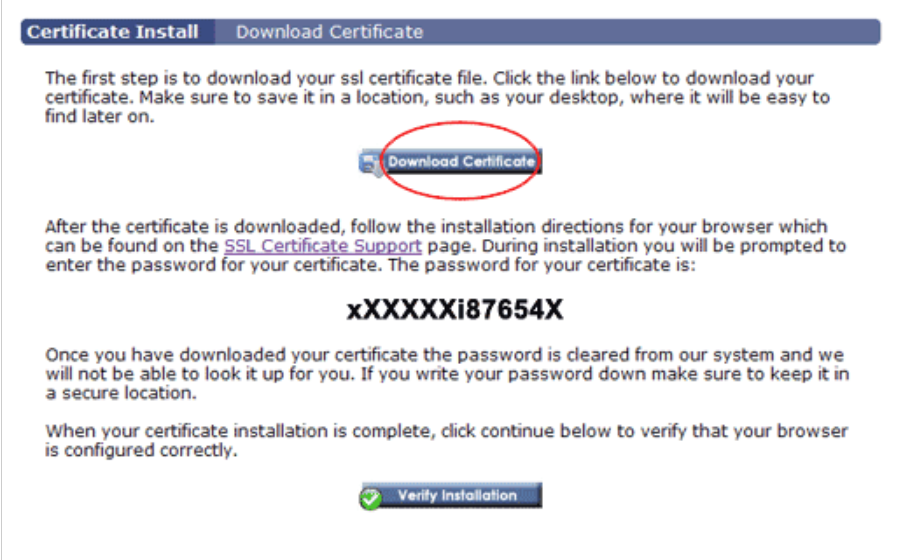
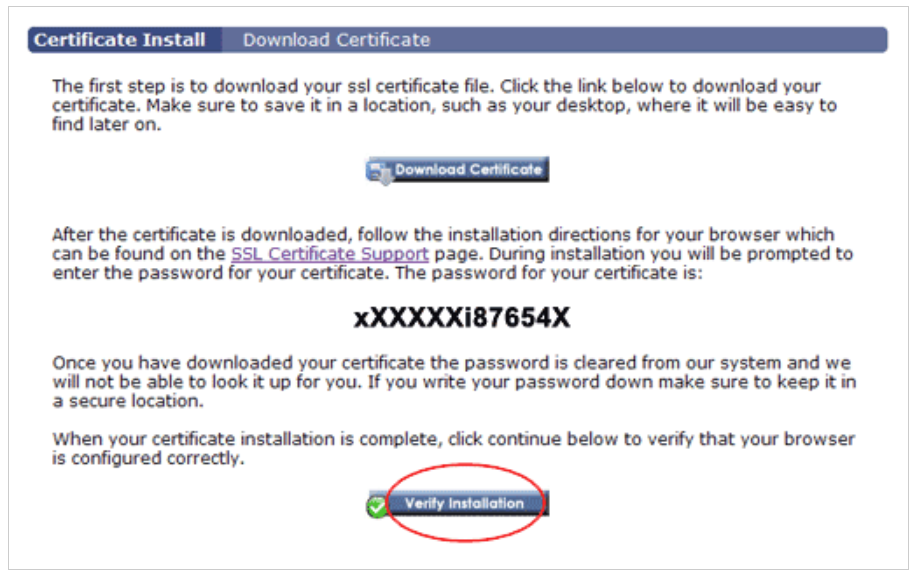
The screen above shows the the 'Download Certificate' button, the 'Verify Installation' button, and the password required to install the SSL Certificate. We recommend that you select and copy the password, then paste it in when required (STEP 4).
STEP 1
Open the pfx file.

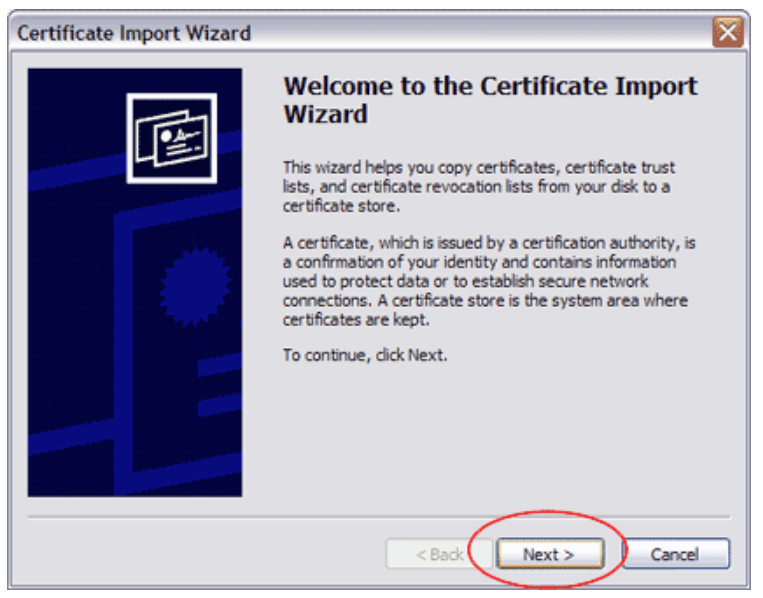
STEP 2
When the 'Certificate Import Wizard' launches, click 'Next'.
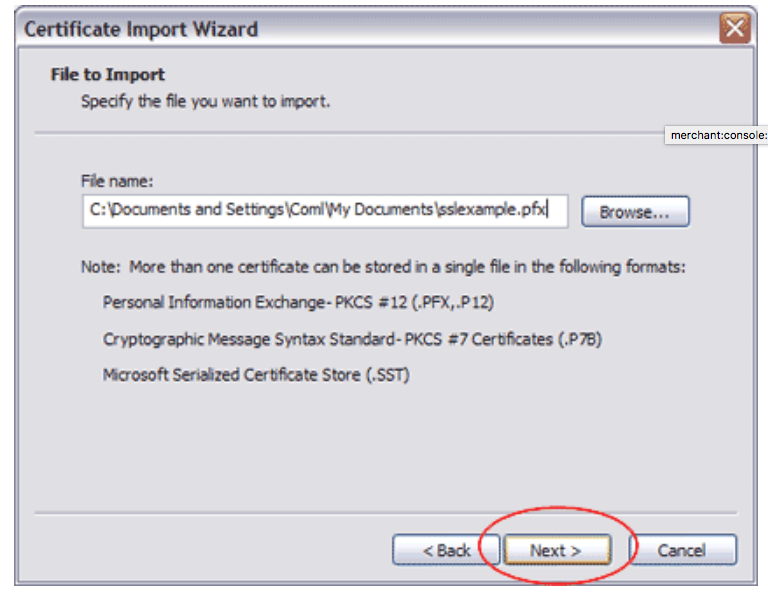
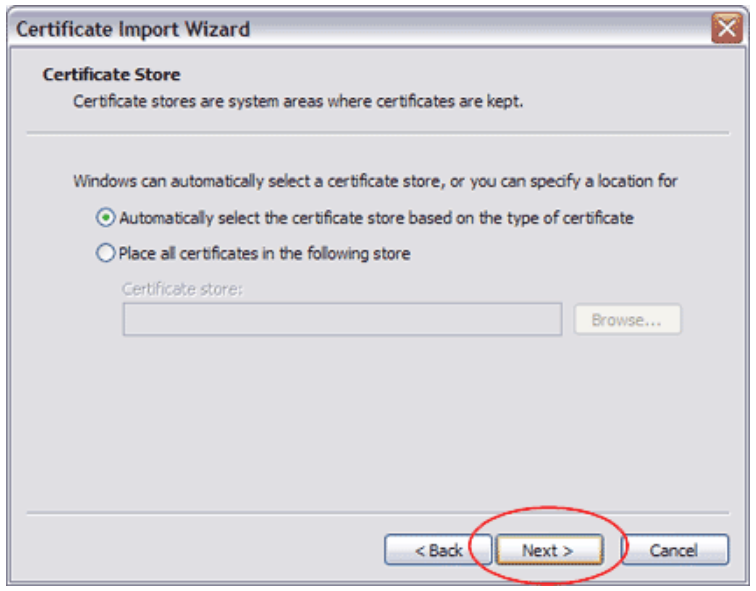
STEP 3
The 'File to Import' screen should appear with the 'File Name' automatically filled in. Click 'Next' to continue.
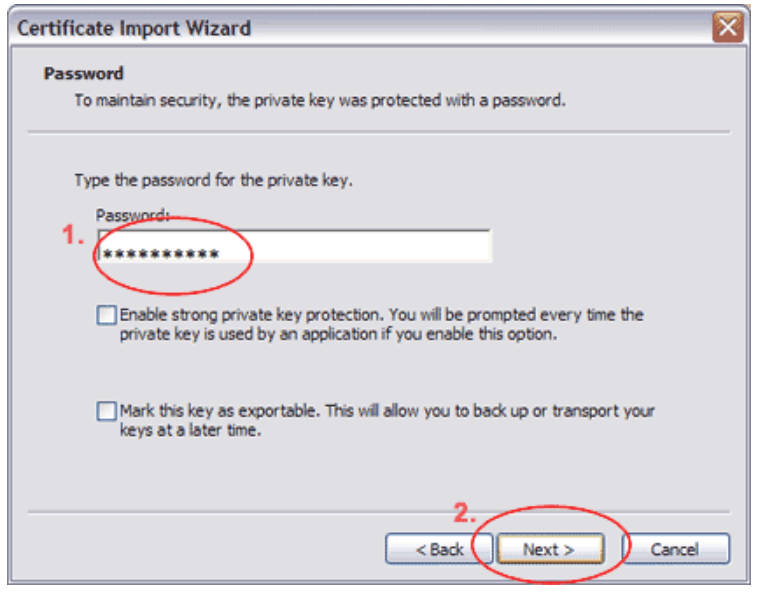
STEP 4
You will be prompted to enter the password for the certificate. This is the password shown in the same screen as the 'Download Certificate' button (the same password you selected and copied in STEP 1). It is not your merchant console password. Once you have entered your password, click 'Next' to continue.
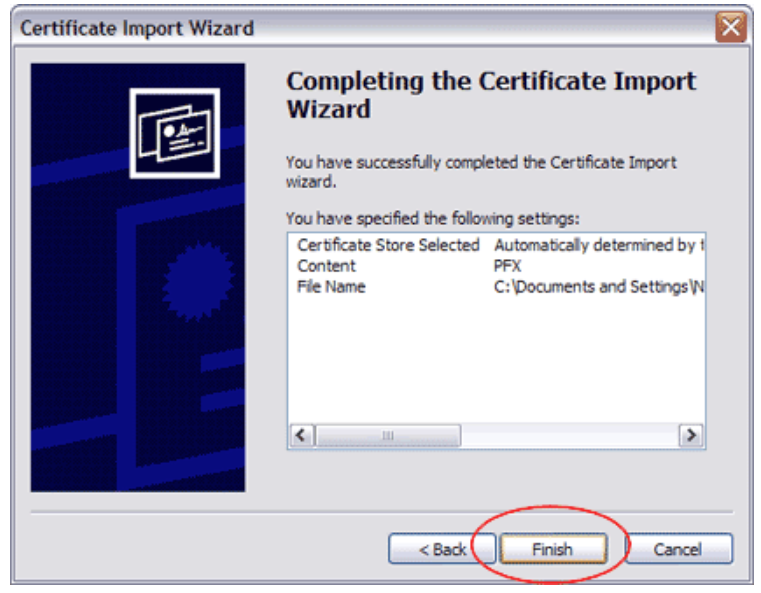
STEP 5
Continue to click 'Next'/'Finish' until the wizard is complete.
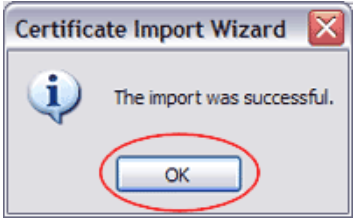
STEP 6
Your browser should now be configured correctly and you should see the following message:
STEP 7
With Google Chrome, you can skip the 'Verify SSL Certificate' button and go straight to unlocking a card number in the merchant console.
Safari
STEP 1
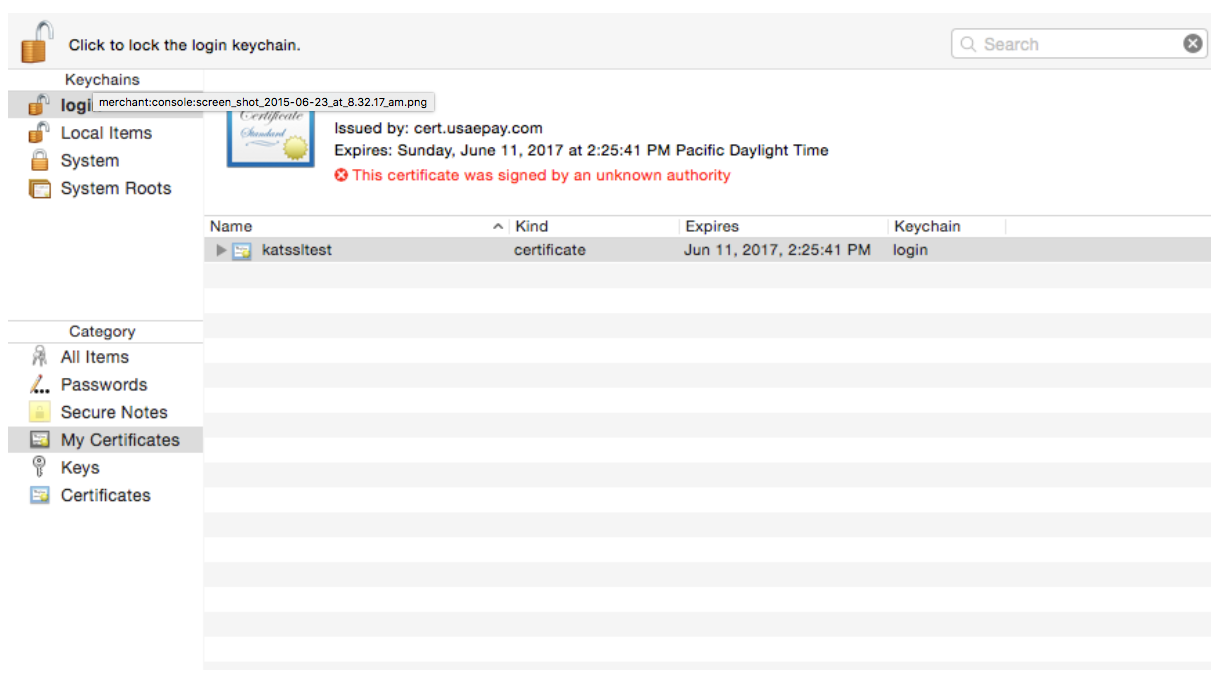
Click the 'Download Certificate' button, then go into your downloads and double click the download. Your keychain will prompt you to put in a password. You would put in the password provided for installation when you clicked on the link in your email (placement of password is shown in above image). You will then see the certificate within your keychain.
STEP 2
You do not need to click the 'Verify Installation' button if you are using Safari. You can go directly to the merchant console to unlock card numbers. When you click the icon to unlock a card number, the system will ask for a card number. You will use the password you normally use to login to the console, NOT the one provided to install the certificate.
STEP 3
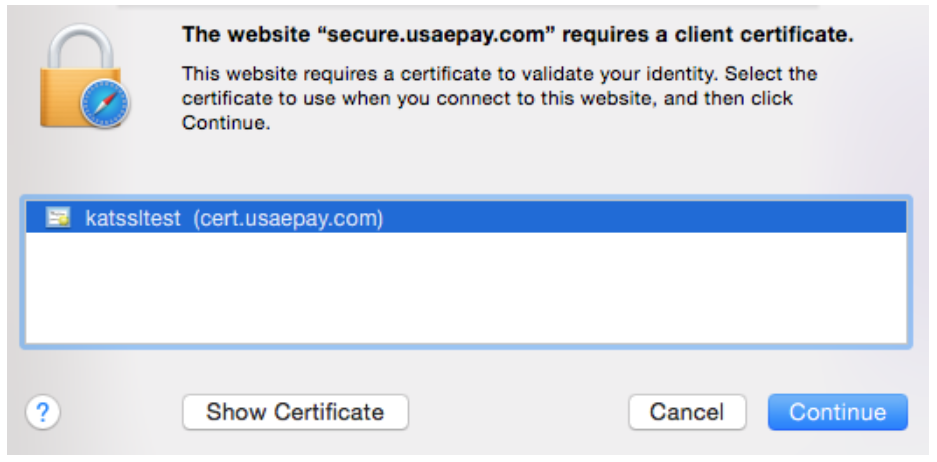
After you enter your password, the browser will prompt you to select a certificate. Select the certificate and click the 'Continue' button.
STEP 4
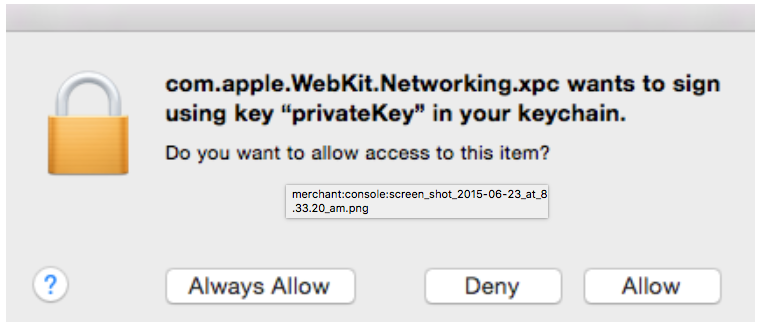
Once you select the certificate, you might receive another pop up message. If you see this message, select 'Allow', and you will see the card number and expiration date.
Firefox
The screen above shows the the 'Download Certificate' button, the 'Verify Installation' button, and the password required to install the SSL Certificate. We recommend that you select and copy the password, then paste it in when required (STEP 6).
STEP 1
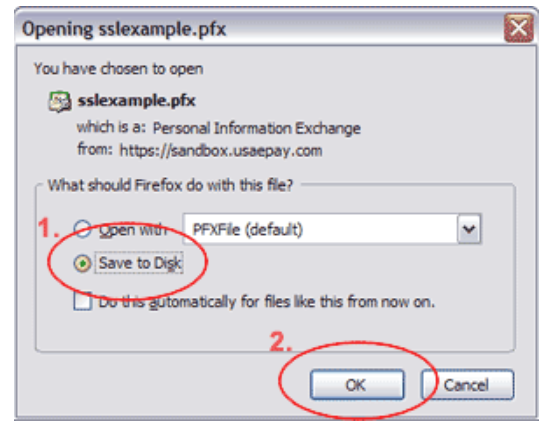
Save the pfx file to your desktop, by selecting the 'Save to Disk' radio button and then clicking 'OK'.
STEP 2
Open the Firefox preferences.
- For Windows Computers- Click on the 'Tools' menu and then click 'Options'.
- For Mac Computers- Choose the 'Preferences' option from the 'Firefox' menu.
STEP 3
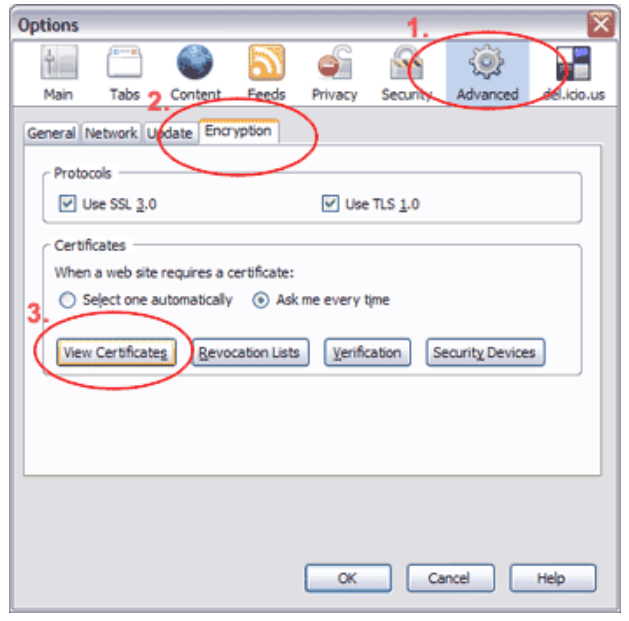
Click on the 'Advanced' icon, then the 'Encryption' tab, and finally the 'View Certificates' button.
STEP 4
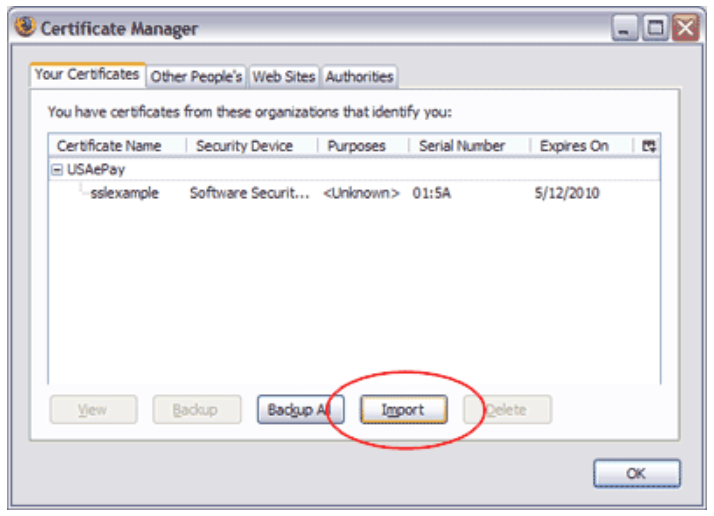
The 'Certificate Manager' menu should appear. Make sure you are in the 'Your Certificates' tab, then click on the 'Import' button.
STEP 5
Locate the .PFX file that you saved in STEP 1 (it should be saved to your desktop) and click 'Open'.
STEP 6
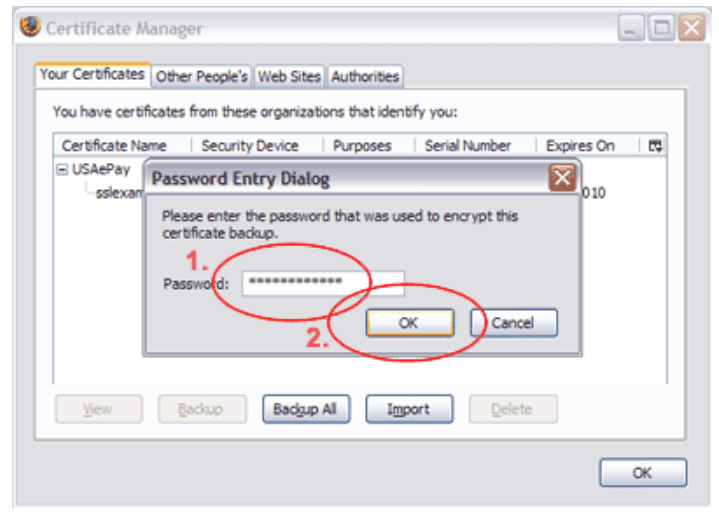
You will be prompted to enter the password for the certificate. This is the password that was given to you when you downloaded the certificate. It is not your merchant console password. Once you have entered your password, click 'OK'.
STEP 7
If successful, you should get a message 'Successfully restored your security certificate(s) and private key(s)'. Click 'OK' to continue.
STEP 8
Click 'OK' and close the preferences window.
STEP 9
With Mozilla Firefox, you can skip the 'Verify SSL Certificate' button and go straight to unlocking a card number in the merchant console.
Opera
The screen above shows the the 'Download Certificate' button, the 'Verify Installation' button, and the password required to install the SSL Certificate. We recommend that you select and copy the password, then paste it in when required (STEP 6).
STEP 1
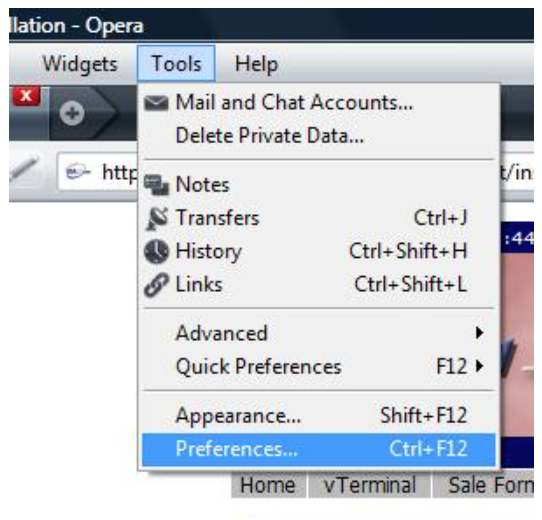
Click 'Tools' at the top of the screen, then select 'Preferences'.
STEP 2
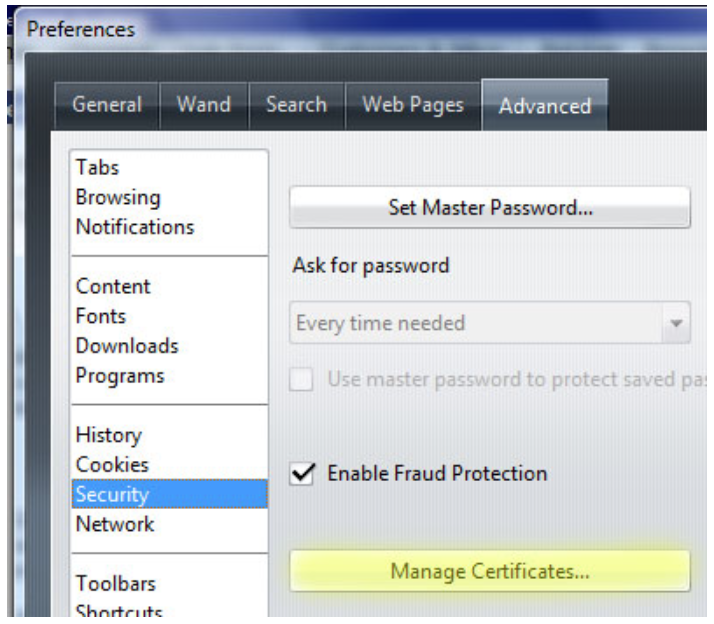
In the 'Preferences' window, click the 'Advanced' tab, and click the 'Manage Certificates' button.
STEP 3
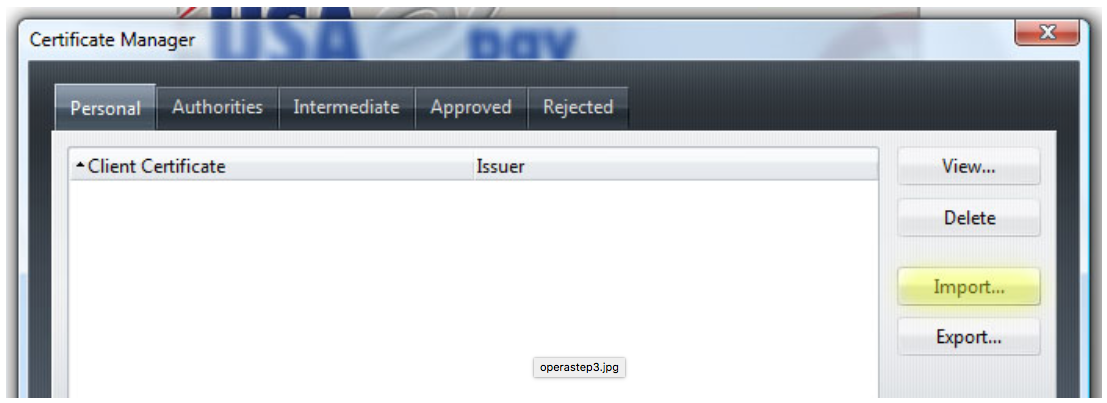
The 'Certificates Manager' window will open. Click 'Import' to upload the certificate.
STEP 4
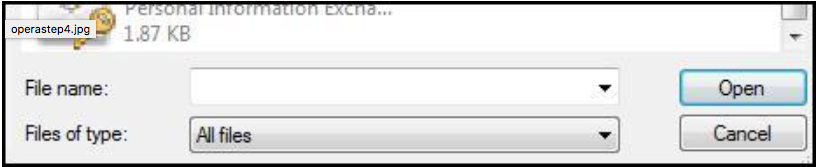
In the 'Files of type' drop down menu, select the 'All Files' option.
STEP 5
Locate your SSL Certificate (it should have the same name as your username) and click 'Open' to continue.
STEP 6
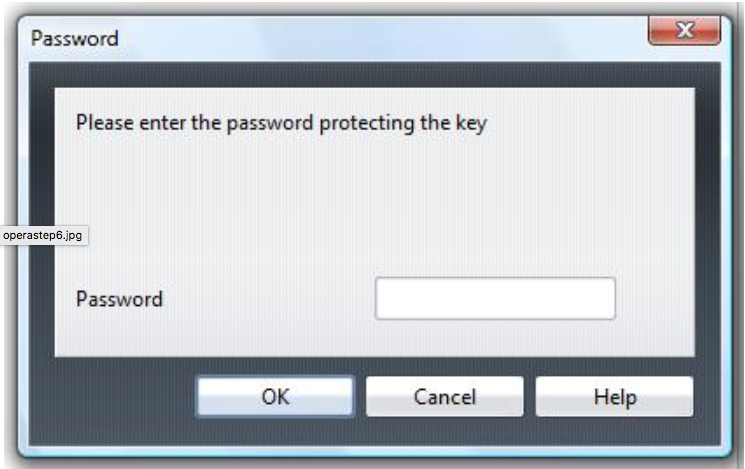
You will be prompted to enter the password for the certificate. This is the password that was given to you when you downloaded the certificate. It is not your merchant console password. Once you have entered your password, click 'Next' to continue.
STEP 7
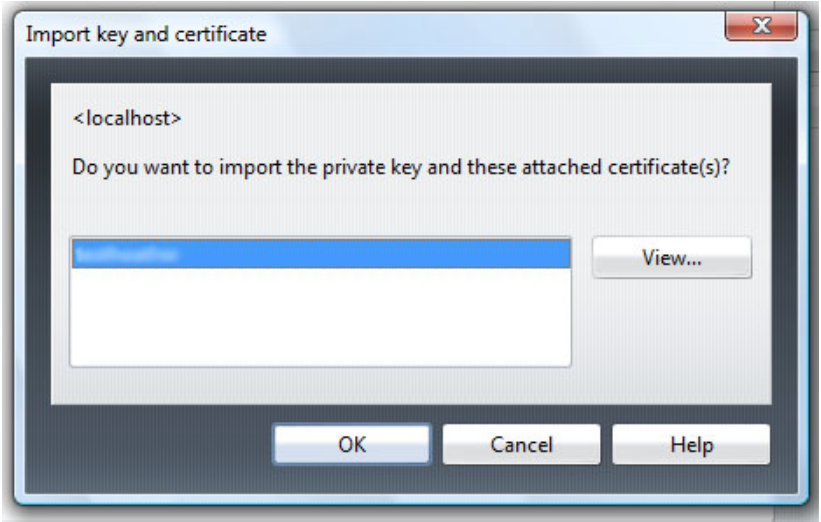
If the password is verified and the certificate is installed correctly, you will see the file name (usually the username) in your certificates list with 'cert.usaepay.com' on the right side. Opera will ask 'Do you want to import the private key and these attached certificate(s)?'. Click 'OK' to continue.
STEP 8
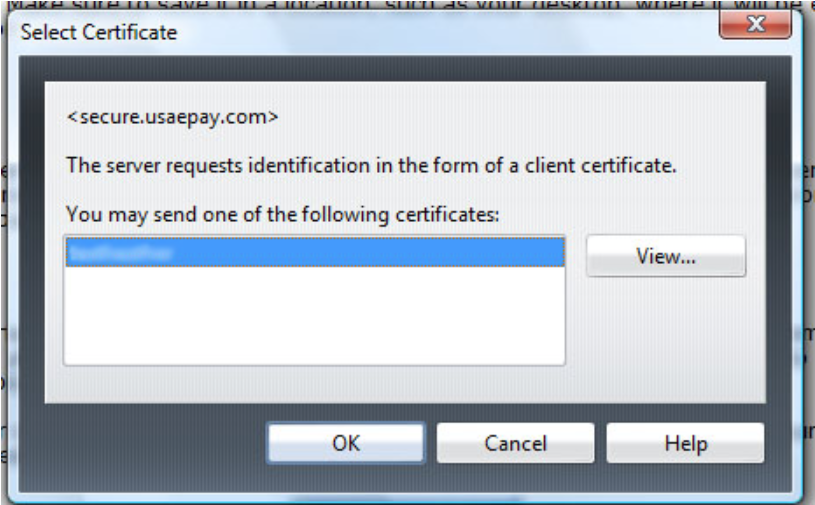
You can now click on the "Verify SSL Certificate" button in the merchant console to verify that your certificate is recognized. Once you click on the button, Opera will pop up a window stating 'The server requests identification in the form of a client certificate' as shown below.
If the certificate was installed correctly, you will see a confirmation message from USAePay. If the SSL certificate installation was not successful, you will be instructed to retry, or call our support team for assistance.
Lost or Stolen Certificates
The ssl certificate is your digital identification. If it is lost or stolen, a third party could use the certificate to access the merchant console as you. To prevent fraudulent activity on your account, please contact customer support IMMEDIATELY if you suspect that your computer has been compromised. USAePay will revoke the old certificate and issue you a new one and access using the old certificate will be immediately blocked. As an example, you should request a new certificate in these situations:
- Your laptop is lost or stolen.
- Detection of a virus, trojan horse or other malicious software installed on your computer.
- You replaced your hard drive or your operating system was re-installed or upgraded.
- You replaced your computer.
Certificate Expiration
SSL Certificates are valid for two years. After two years your certificate will no longer be accepted by the server. If your certificate has expired, contact customer support and a new certificate will be issued.