
New Order
The ‘New Order’ section allows you to process transaction that include new products, products from your database, and include customer details.
Running a New Order
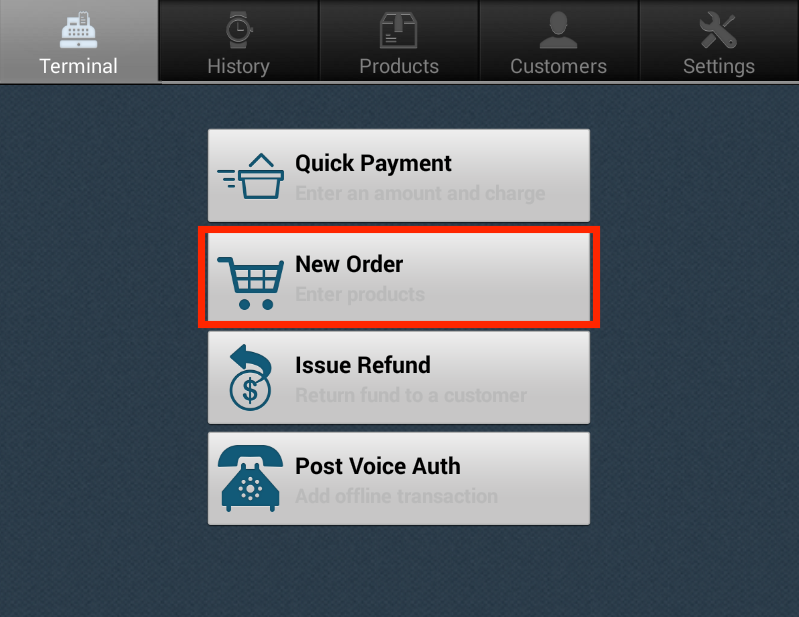
To start processing a new order, tap on ‘New Order’ under the Terminal section.
Step 1: Add Item(s)
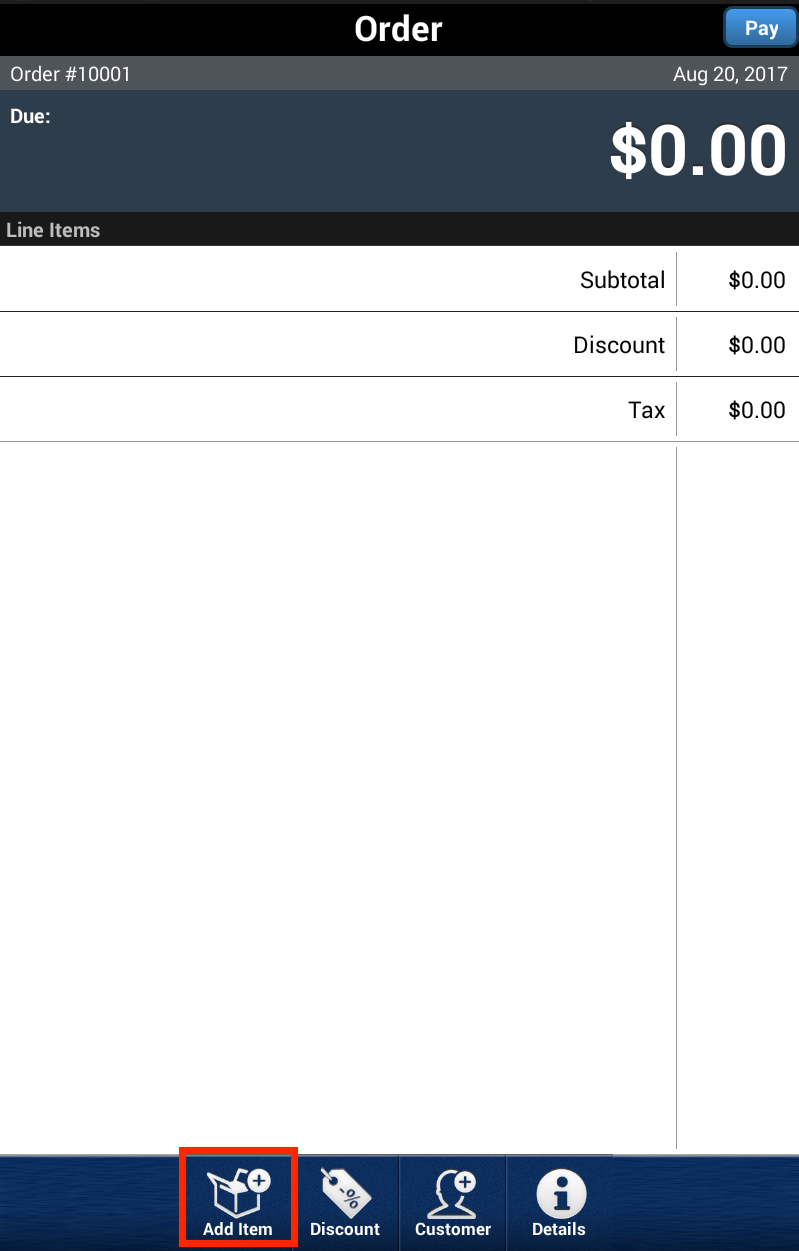
Add an item by tapping on the ‘Add Item’ icon at the bottom of the screen.
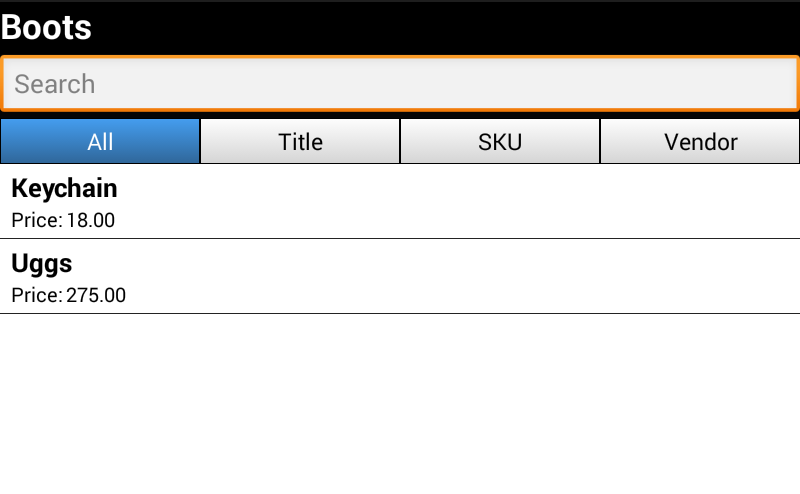
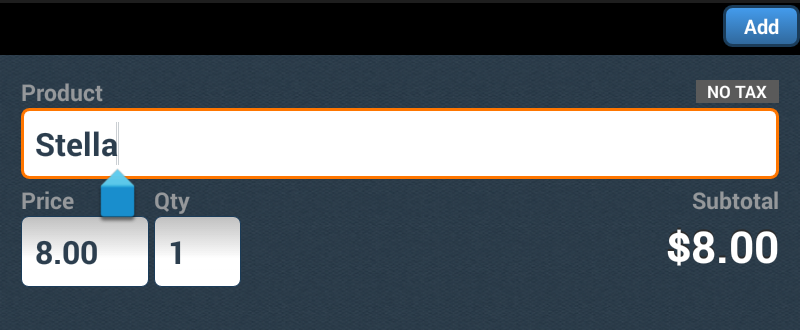
The Product Categories will be displayed. Select the category which contains your desired item, and then tap on that specific item. You can also search for your item by typing it in the search bar at the top of the page.
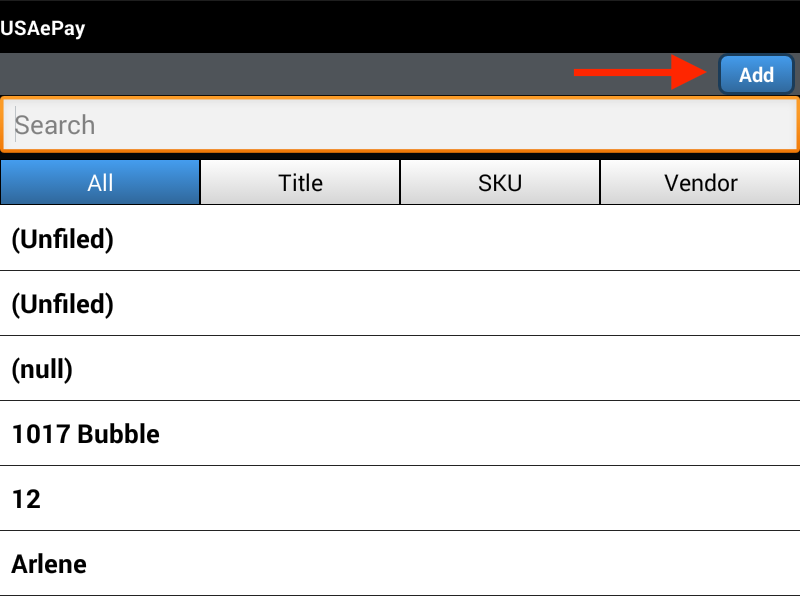
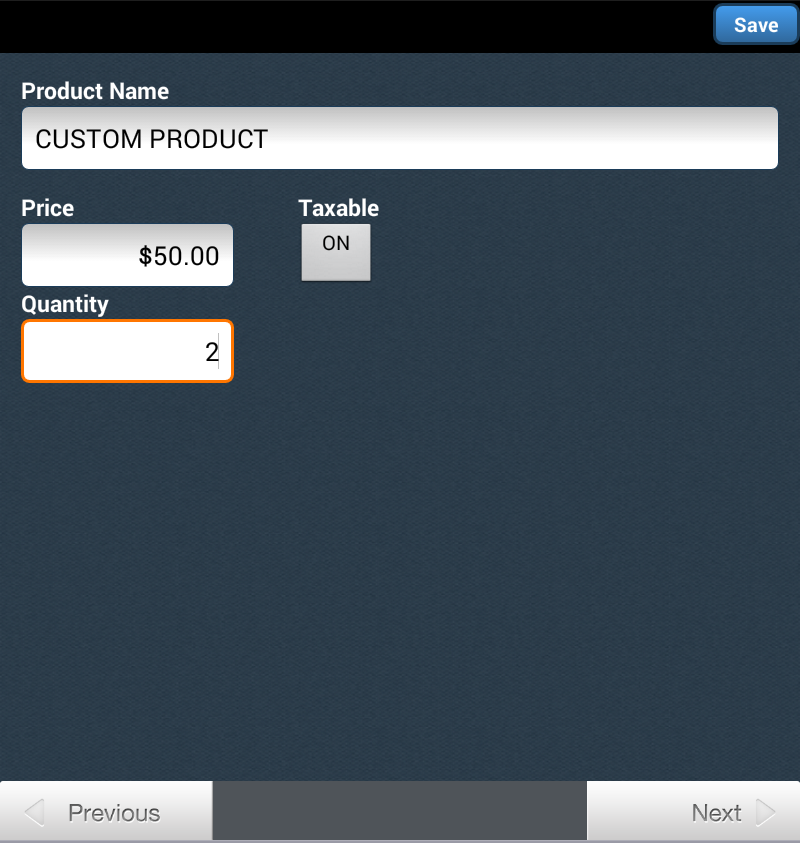
You can also add custom items. Simply tap on the ‘Add’ button in the upper right hand corner. Enter the ‘Product Name’, ‘Price’, and the ‘Quantity’. You can also make the new item taxable or non taxable.
You can edit or delete line items by pressing and holding on the specific line item until the two options, Edit or Delete, appear.
When you edit a line item, you can change the product name, price, tax status, or quantity.
Step 2: Add Discount
The Retail POS app allows you to add a discount to the entire order. (See Settings to determine if the discount is applied before or after the taxes are calculated)
Tap on the ‘Discount’ button if you wish to add a discount.

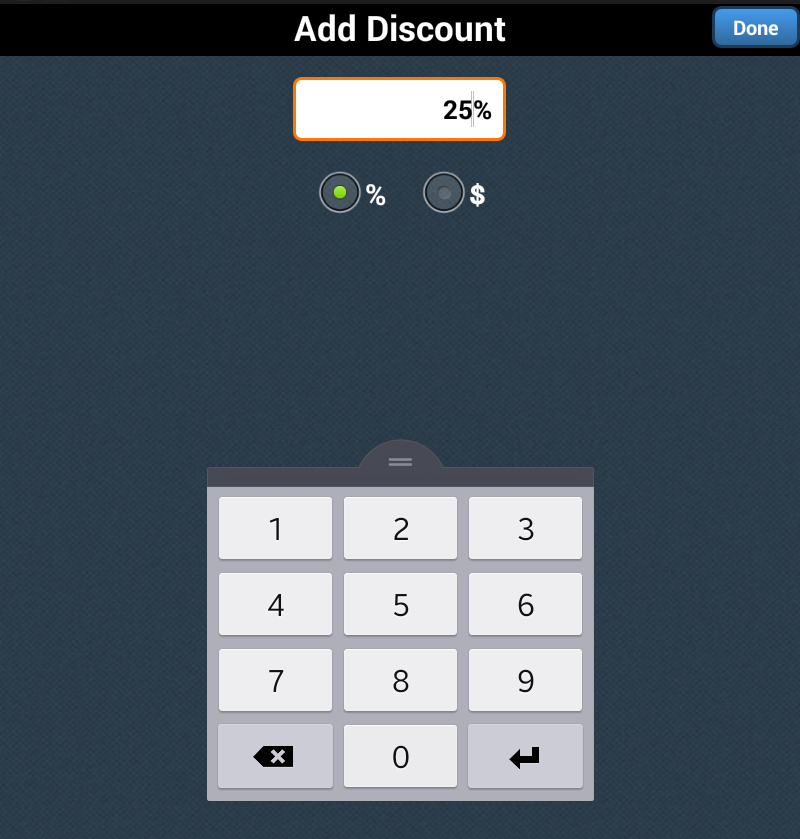
A pop up window will then appear. You may enter the discount in a dollar amount or percentage.
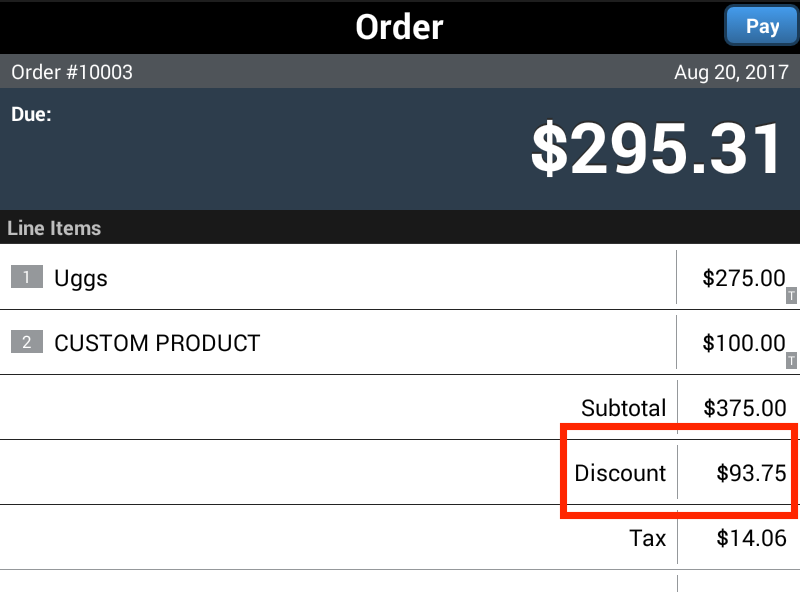
Tap on ‘Done’ in the upper right hand corner to apply the discount and return to the ‘New Order’ screen. You will see the amount that has been discounted under the section titled ‘Discount’ and an update on the amount due at the top of the screen.
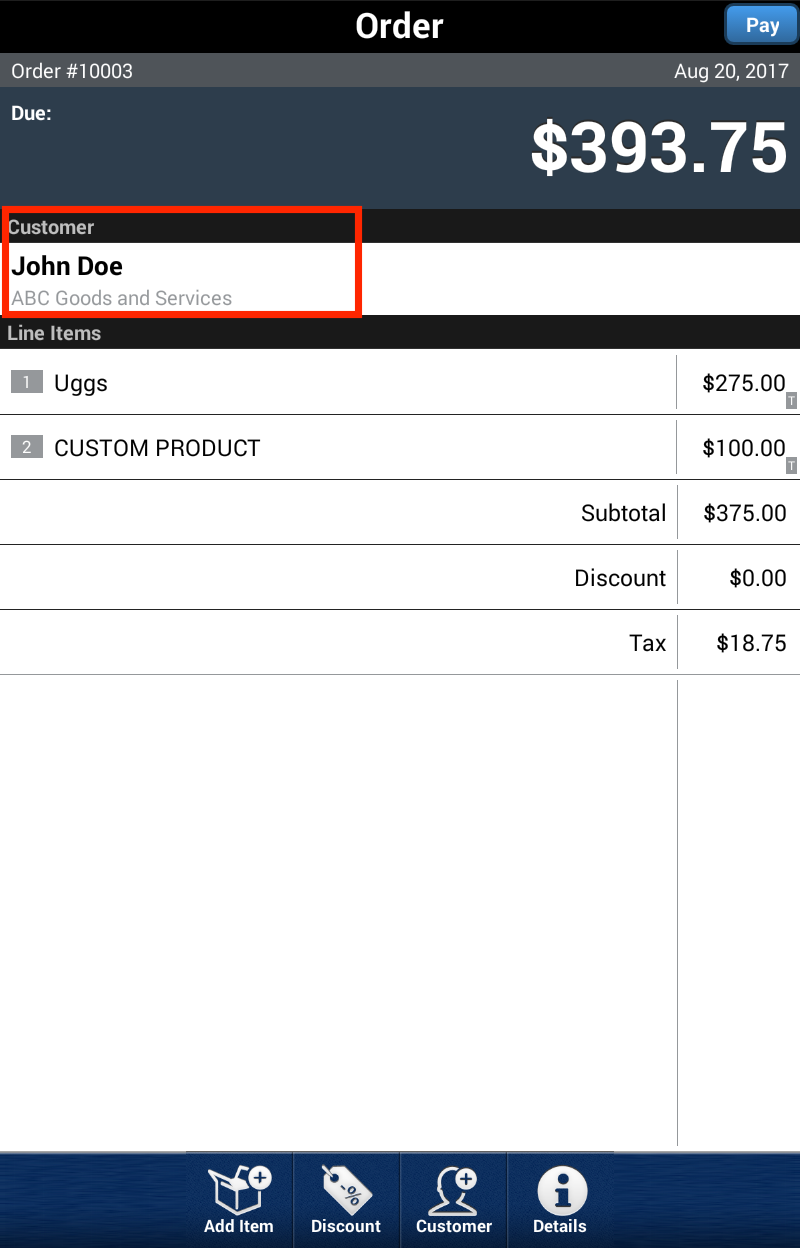
Step 3: Select Customer
To select a customer from your database, tap on the ‘Customer’ button at the button of the screen.

Tap the name of the customer for whom the order is to be placed. You may also search for the customer by entering the customers name in the field provided. Every customer that matches the criteria entered will be displayed and listed.

You may only select one customer per order. Once you tap on the Customer’s Name, it will be added below the amount due.
Step 4: View Transaction Details
You can view the details of the transaction by tapping on the ‘Details’ button at the bottom of the screen.
The Details page shows the following information: Billing Address, PO Number, Phone, Email, and Notes.
You can edit the information displayed by tapping on the appropriate fields. Click ‘Save’ on the upper right corner after editing the information to update the transaction details.
Tap on the return button on the lower right hand corner of your Android device to return to the Order page.
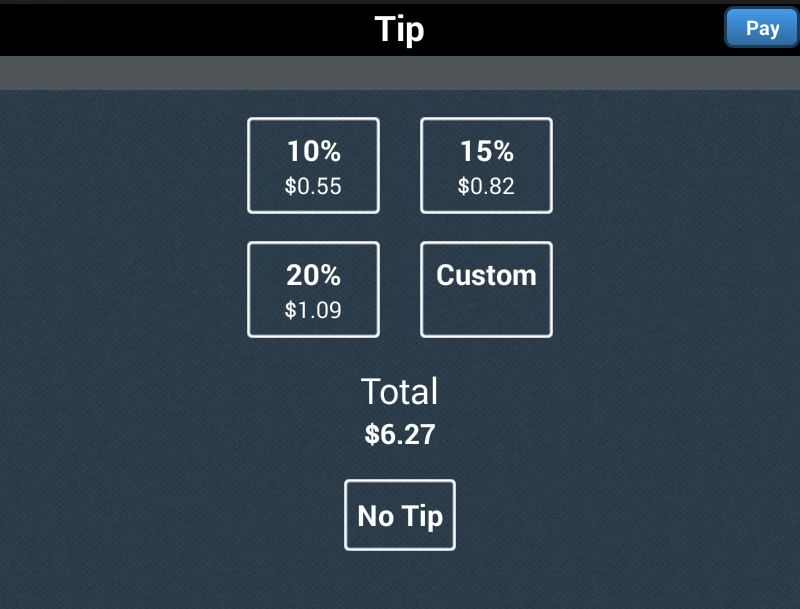
Step 5: Prompt for Tip
Once all information has been input for the order, tap on ‘Pay’ in the upper right hand corner of the screen. If your ‘Prompt for Tip’ setting is enabled, the Tip page will appear. The customer can select the following tip options: 10% tip, 15% tip, 20% tip, custom tip amount, or no tip.
A pop up window appears to confirm to process the transaction. Tap on ‘Yes’ to continue to the ‘Payment Type’ page.
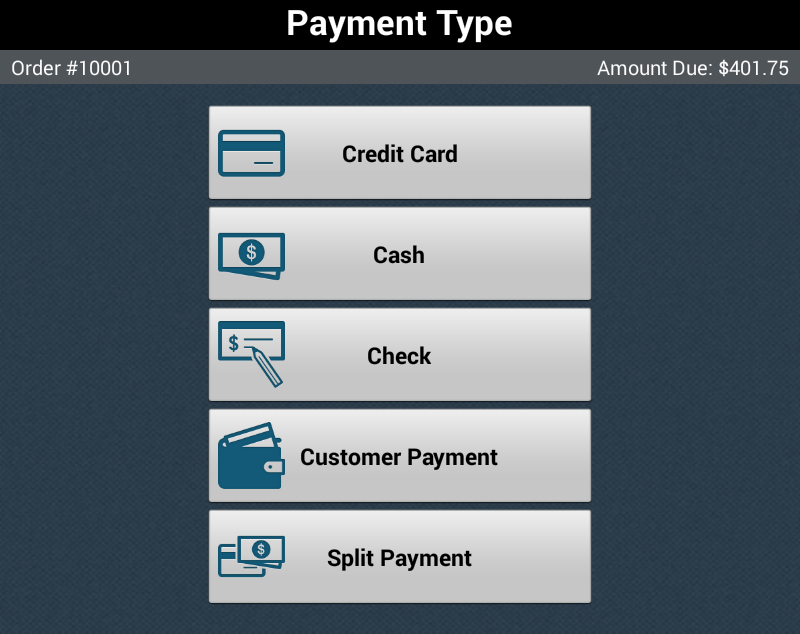
Step 6: Choose Payment Method
Choose the payment method to be used in the order by tapping on the ‘Pay’ button in the upper right hand corner of the screen. You may accept Credit Card, Cash, Check (External Checks only), Customer Payment, or Split Payment.
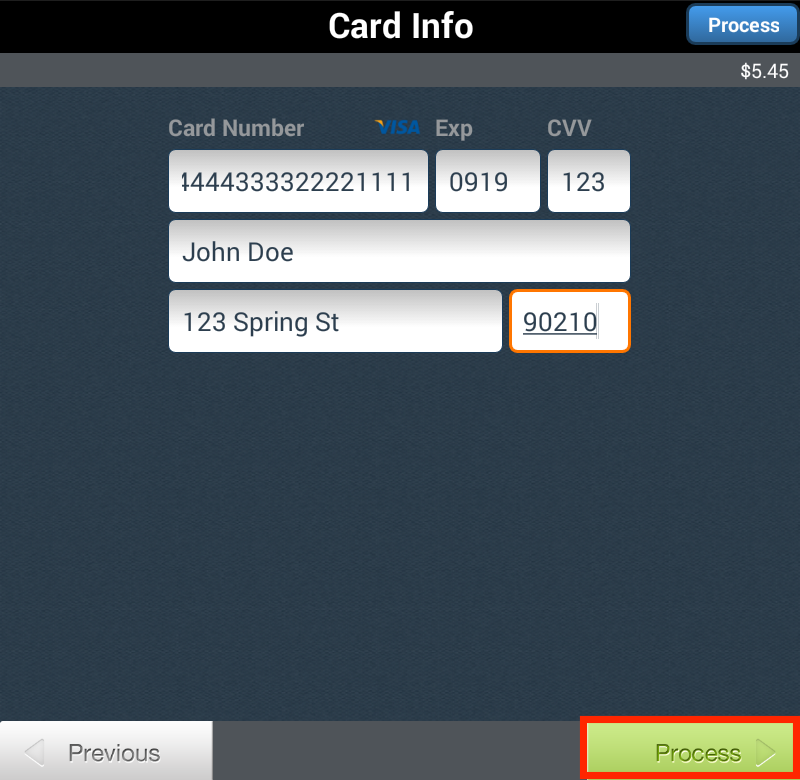
Method 1: Credit Card
To process a credit card transaction, you may manually enter the customer’s credit card information or swipe the customer’s credit card. Once the information has been entered, tap on ‘Process’ in the upper right hand corner to the process the transaction.
Once the transaction processes, the ‘Capture Signature’ page will appear. When this window appears, ask the customer to use the touch screen and enter their signature. Once the customer signs their name on the screen, tap on ‘Accept’.

The ‘Transaction Approved’ screen will then appear. You have the option to email the receipt to the customer and then exit the screen by tapping on ‘Done’.
Method 2: Cash
To process a cash transaction, enter the amount tendered in the ‘Cash Tendered’ field. Please Note: The amount tendered must be higher than or equal to the total amount of the order. The customer’s ‘Change Due’ will automatically be calculated for you.
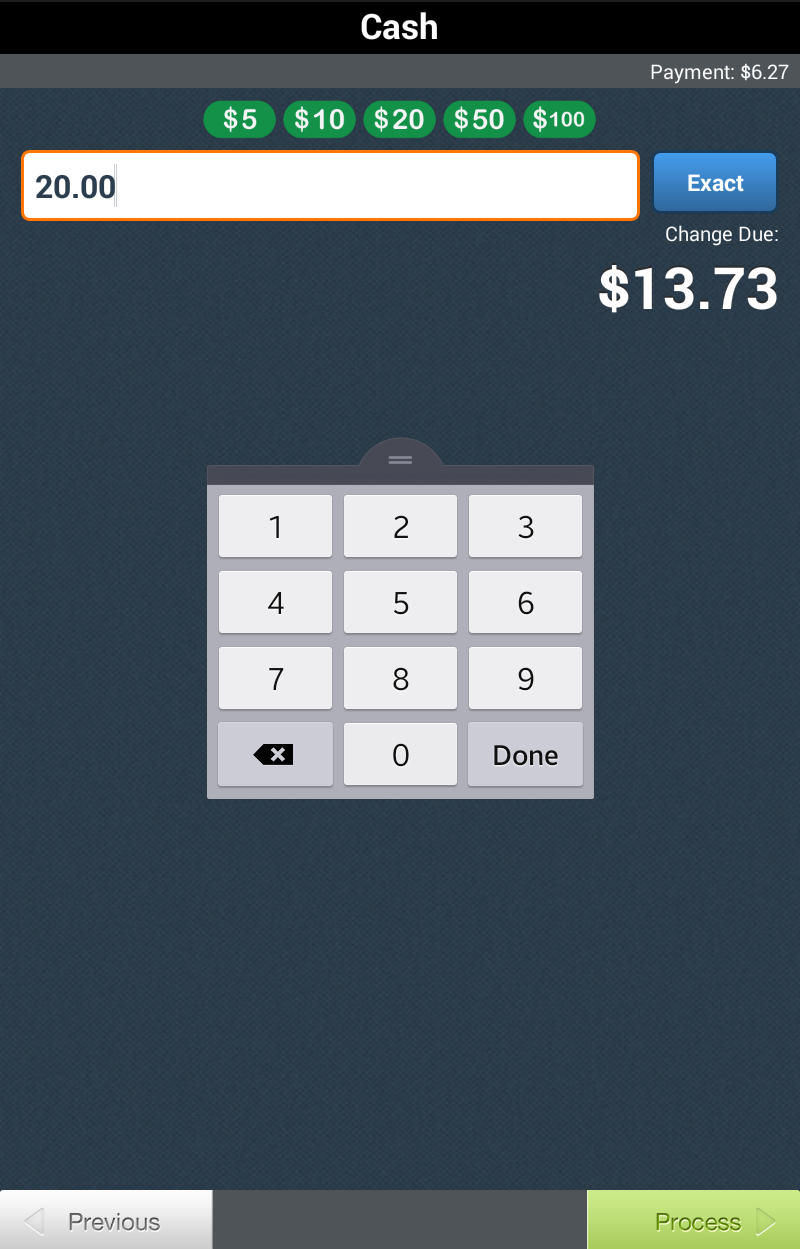
To enter the amount tendered you can do one of the following:
- Tap on the dollar amounts listed at the top: $5, $10, $20, $50, or $100.
- Tap on ‘Exact’ when the customer gives the exact amount due.
- Use the keypad to enter a specific cash amount.
Once you enter the amount, tap on ‘Process’ to process the New Order transaction.
Method 3: Checks
The USAePay Retail POS App allows you to accept external checks (or offline check sales). To start accepting checks, it must be enabled in your Settings.
Tap on the ‘Check’ button if the customer is paying by check. You will see the fields ‘Check Number’ and ‘Notes’. Use the ‘Check Number’ field to keep track of your check sales for the day, and the ‘Notes’ to keep track of other information you want to store (i.e. Drivers License #, Phone #, etc.). Please Note: The USAePay Retail POS allows you to accept external checks only (or offline check sales).
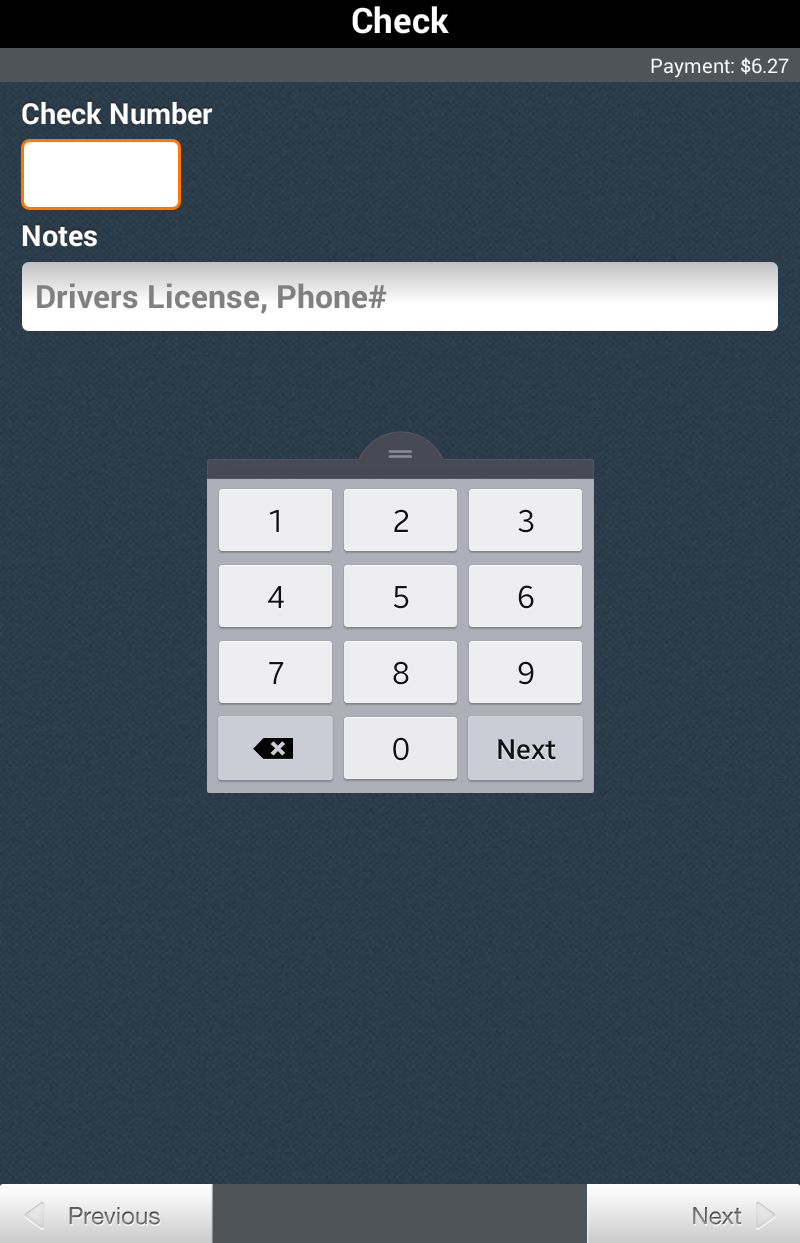
Once you have entered the the information, tap on ‘Next’ to complete the transaction. A confirmation screen will appear.
Method 4: Customer Payment
Conduct payments with customer information previously saved from before. Add the customer to the order by tapping on the ‘Add Customer’ button at the bottom of the screen. Tap on ‘Pay’ to process the payment and open up the ‘Payment Type’ screen.
Tap on the ‘Customer Payment’ field to pay with the customer’s credit card information that has been previously saved. Note: Customer credit card information can only be saved in the Merchant Console.
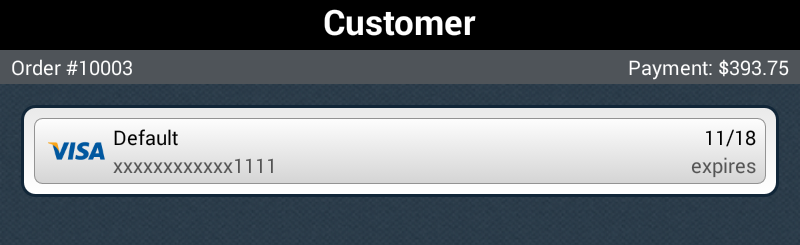
Once you click 'Customer Payment', the app will show you the cards attached to the customer's account. Tap on the card you would like to charge and the payment will be run.
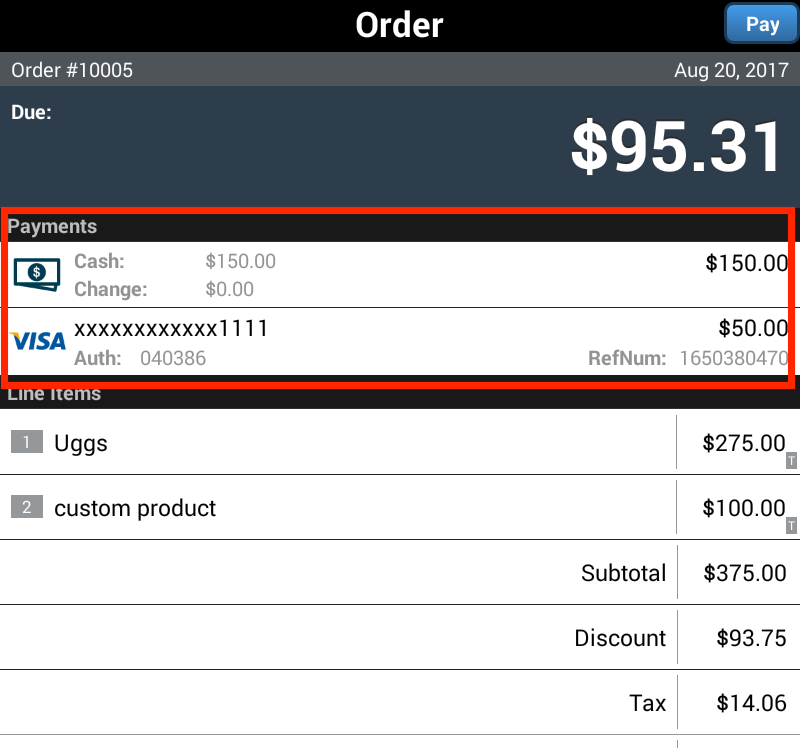
Method 4: Split Payment
The Retail POS App allows you to also process split payments. For example, if the customer would like to pay part of the transaction with cash and the rest with card.
To complete a transaction with two payment methods in New Order, tap on ‘Pay’ in the upper right hand corner. Then tap on ‘Split Payment’ on the ‘Payment Type’ screen. Follow the following steps to complete a Split Payment:
- Step 1- Enter the amount to be paid in the field under ‘Amount.’
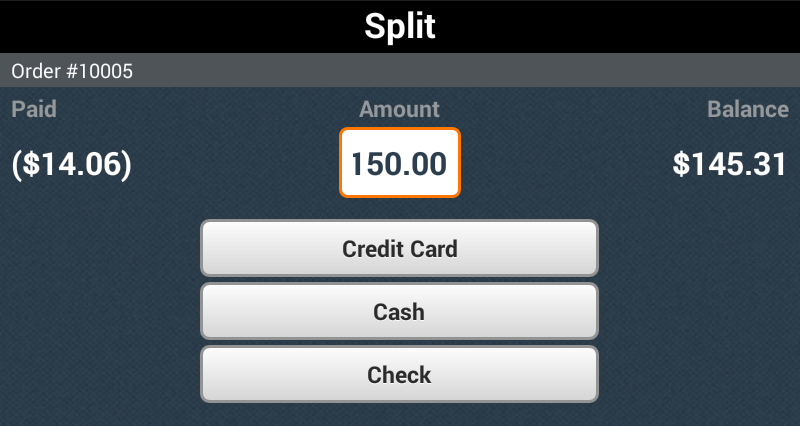
- Step 2- Tap on one of the following: Credit Card, Cash, or Check
- Step 3- Enter the required information according to the payment type (i.e. if a credit card was used, enter the card number; if cash was used, enter the cash tendered)
- Step 4- Tap on ‘Process’ in the upper right hand corner of the screen.
- Step 5- Transaction Approved screen will pop up. Tap on ‘Done’ in the lower right hand corner. You will be redirected to the ‘New Order’ screen of the order you just partially paid.
- Step 6- Tap on ‘Pay’ in the upper right hand corner and select ‘Split Payment’. Repeat steps 1 through 5 until the payment of the order is complete.
Enter the amount the customer is paying with the first medium of payment. Then tap on either ‘Credit Card’, ‘Cash’, or ‘Check’, whichever is being used by the customer.
Email Receipt
Tap on ‘Email Receipt’ to a email a receipt of the transaction to the customer. Simply enter the email and tap on ‘Done’ to send the receipt.
Print Receipt
Tap on ‘Print Receipt’ to print either the Merchant Receipt or the Customer Receipt. This option will only appear when a printer is connected in Settings.
Done
Select the ‘Done’ button to exit the Transaction Confirmation screen back to the ‘Terminal’ page.